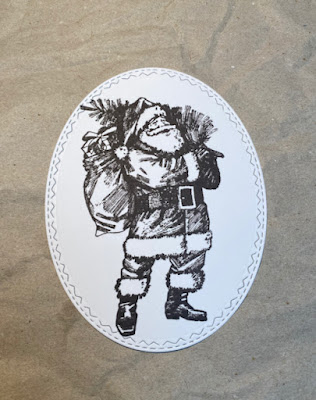
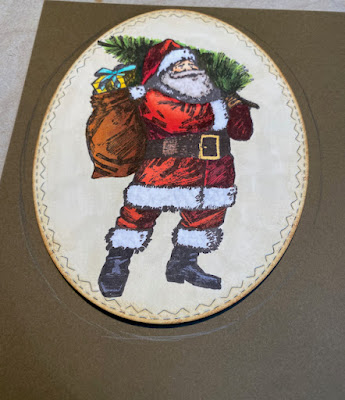
After Tim's demo on Saturday, I felt like stamping and stencilling. To do this, I took out my new favourite Santa Clause stamp and a stencil that I've never used before. Here is what I made.
And here is my tutorial.
I cut out an oval panel with the biggest die of Tim's Stitched Oval set from Neenah Solar White paper. I stamped the image with Tsukineko Memento Espresso Truffle ink.
I coloured the image with Copic Sketch markers. I coloured the background with Copic markers too. I inked the edges with brown Distress inks (maybe Vintage Photo and Walnut Stain). Then I placed the oval panel on a brown paper and I drew a few millimetre larger oval than the original on the brown paper.
I cut this out. 
Don't worry if it's not perfect. Since I distressed the edges with a knife, it took away the unevenness.
For the background, I took my favourite watercolour paper and cut out a rectangle panel. Then I started to blend ink through the stencil and heat embossed with gold embossing powder. as you can see in the picture, I didn't bother with the middle because I knew it would be covered anyway. After the embossing I blended Rustic Wilderness onto the surface.
I inked the edges with Walnut Stain ink. I glued this panel onto the same brown paper that I used for the oval.
I wanted to put something else on my card, so I tried different texts but I discarded all because none of them showed well. I ended up putting a bow with a jingle brad.
What I used:
Idea-Ology Jingle Brads (TH93743)
Idea-Ology Metallic Kraft paper
Ranger embossing powder (Princess Gold)
Ranger Distress Ink (Rustic Wilderness, Vintage Photo, Walnut Stain)
Tsukineko Memento (Espresso Truffle)
Copic Sketch markers
etc.
I hope you like it!!! Thank you for stopping by!!!


No comments:
Post a Comment
Thank you for your lovely comments, I really appreciate it!