Showing posts with label cake. Show all posts

Friday, 13 January 2023

Birthday card with Celebrate die set by Tim Holtz

This card was made for my daughter. She turns 17 on next Monday. Before I made the card I asked her about her favourite colours and she said light green and pink. So here it is:


For the background, I took a pastel green paper and stamped on it with the Dots background stamp using embossing ink. Then I heat embossed with white embossing powder. I cut off the excess and inked the edges with Rustic Wilderness.


All the cutouts were in the Celebrate die set, except the numbers and the text. 

What I used:

Sizzix Thinlits die, Celebrate Colorize (666285)

Sizzix Thinlits die, Alphanumeric 3/4" (660056)

Sizzix Thinlits die, Handwritten Celebrate (660215)

Stampers Anonymous, Dots and Floral (CMS220)

coloured paper

Ranger embossing powder (super fine white)


Friday, 13 May 2022

Wedding card with a layered cake

Hello everyone, I would like to show you the wedding card that I made for one of my friends who will be attending a wedding in July. I immediately started to make the card when she asked and I started to make two versions. She chose this one, so I show you this first.


The background was made with one of the Vines&Roses stamps by Tim Holtz. I heat embossed the stamped image with Vintage Pearl embossing powder. I wanted to make this card elegant, so the the gold seemed a good option but there are many shades of gold! In the end, I found the DecoArt Metallics, Glorious Gold to be the best for the pearl roses. 


By the way, there is an earlier version of this card, you can see that here.

Well, the cake is a discontinued Sizzix die, Layered Cake by Brenda Walton, but I rounded the upper edges of the cake layers.

The numbers are from the Captions Numbers die set by My Favorite Things. 

For the letters I used a Sizzix die, Alphanumeric 3/4" by Tim Holtz.

I inked the edges of the white papers with Kraft colour ink by My Favorite Things.

The patterned papers are First Edition papers, I just loved the First Edition earlier designs.


I hope you like it! Thank you for stopping by!


Sunday, 23 May 2021

Totoro cake

Hello everyone, I'm here with a Totoro cake that I made for my daughter's name-day. One year ago, for her name-day I had already made a Totoro cake but this year her wish was the same, a Totoro cake but with another design. So here is the cake:


And here you can see the cake from last year.


Sunday, 17 January 2021

Green birthday cake with tiny pink flowers

Yesterday was my daughter’s birthday, so I made her a cake. With my husband we don’t eat sugar or foods that contain gluten, so we avoid the wheat flour. Generally, we use Erythritol as a sweetener and oat flake flour, coconut flour, almond flour, chestnut flour, etc. instead of wheat flour. But our daughter doesn’t want to follow this diet and I don’t force her to do it. 

I'm flattered that she insists that I make her birthday cake but it's always a big challenge for me. Usually, I don’t make these types of decorated cakes, so I can't practise before.  And it’s a big challenge because I try to cheat, I try to mix the unhealthy with the healthy in such a way that she won’t notice my tricks. 


This year, I made this floral cake. Inside there is a French chocolate buttercream (buttercream with egg yolks) and the outside was Swiss buttercream (buttercream with egg whites) adding green food colouring. The sponge cake is made with fifty-fifty Erythritol and sugar, fifty-fifty wheat flour and oat flake flour. For the buttercream I also used half amount of Erythritol.


The flowers were cut out from pink fondant.


Luckily, the cake was a big success and she didn't realise anything from my cheating :-)


Saturday, 23 May 2020

Totoro

Tomorrow will be my daughter's name-day. I'm sure I've already told you that she is a huge fan of Japanese cartoons. Wolf Children, Ponyo, Pokémon, Fairy Tail and Totoro are some of her favourite cartoons. 

Two years ago I had made a Fairy Tail cake with a blue cat for her birthday but I wasn't satisfied with it hence I'm sure I didn't share it with you here. 


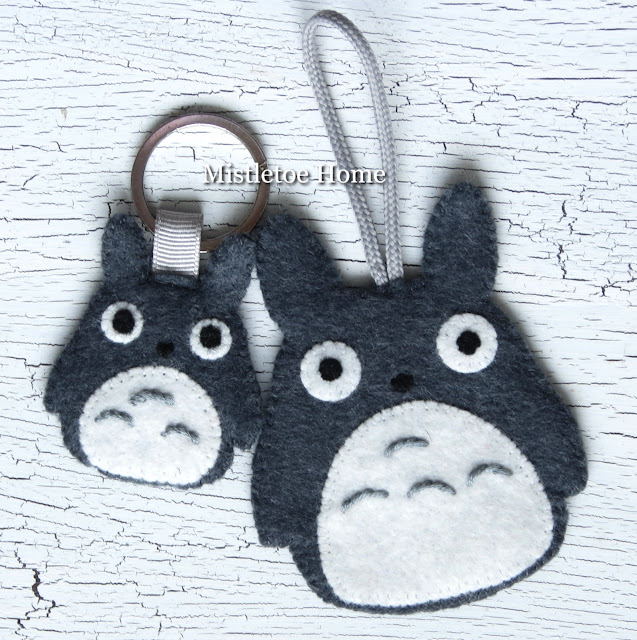
This time she chose Totoro so I've made a Totoro felt ornament, a Totoro keychain and a Totoro cake for her name-day.

Here they are:


I hope she will like it!!! 

For the Totoro felts, I found a pattern on this blog. I didn't use all the elements of his plushie and I changed the sizes too.

Thursday, 7 June 2018

Confectioner by PaperArtsy

Heres is my card with PaperArtsy stamps (ZA22, EEg24). Earlier this year I have made a similar card with this confectioner that I think worth a look too if you haven't seen it already :-)


For the background and the background stamping, I used acrylic paints. 

The text was stamped with Ranger Archival Jet Black ink.

The confectioner was coloured with Copic Sketch markers.


Don't you think that my confectioner has the colours of the Ladurée macarons?


With my card, I would like to join the:

- Simon Says Stamp Monday Challenge: All things bright and beautiful

- Craft Stamper Magazine June TIMI challenge: Anything goes


Thanks so much for stopping by!!!


MentésMentés

Monday, 12 March 2018

Let's eat cake! - greeting card with PaperArtsy Zinski stamp

At the PaperArtsy blog, there's a challenge called: Whimsy. And this card was made for that challenge.


What I used:

PaperArtsy, Eclectica Emma Godfrey (Fly) EEG24

PaperArtsy, Signature Zinski Art ZA22

PaperArtsy, Fresco Paint, Cheesecake

Ranger, white embossing powder

Copic Sketch markers

Tim Holtz, Small Talk sticker book, Occasion


MentésMentésMentésMentés

Sunday, 11 June 2017

Art Impressions: Cake Popper

Today I have brought you here a fun card with the Art Impressions humorous stamp: Cake Popper.


Monday, 28 December 2015

Decoupage box with cupcakes

This is my third decoupage box which was made one of the girls from our friends' family. I put cupcakes on her box because she is the one who likes to make cakes.


Tuesday, 24 November 2015

Christmas card with Urban Stamps Tulip Design stamp - Christmas cake

This stamp is so cute, isn't it? When I saw it I bought it immediately. 

Whit this "Oh, Christmas" text on my card the young lady looks like a tired but happy housewife after a big Christmas preparation :-)


What I used:


Urban Stamps, Tulip design, Christmas Cake

My Favourite Things Stamp, Gift Tag Greetings

Ranger Distress Ink Pad, Brushed Corduroy

Ranger Distress Markers

Watercolour pencils


Wednesday, 25 February 2015

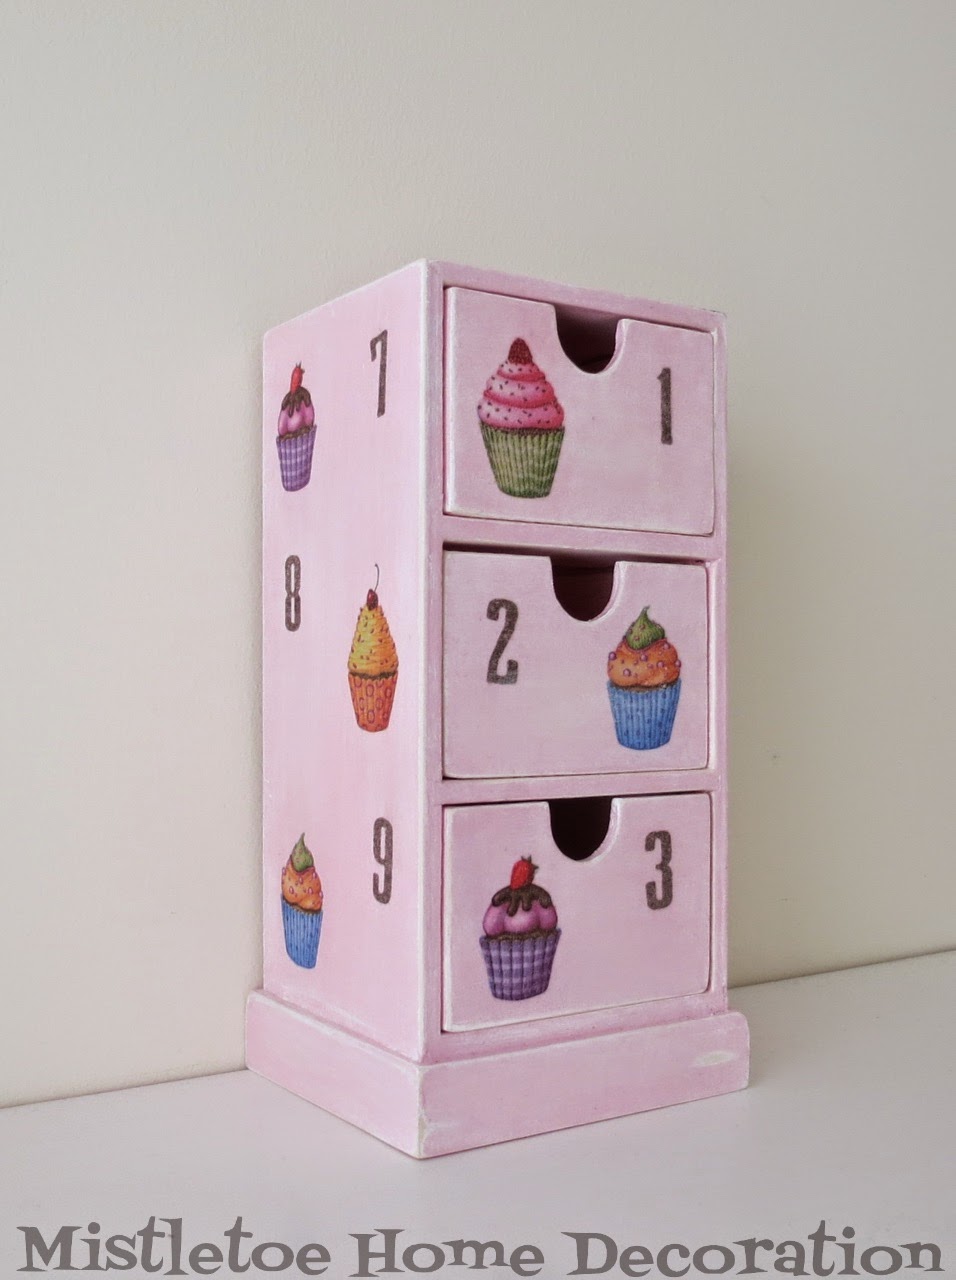
Pink shabby chic box with drawers

I made this box for Eszter... a storage for her tiny stuff.


The basic is a simple plain wooden storage box with 3 drawers that I bought very cheap at the German Tedi store. 


First I painted it white with acrylic paint.


Then I sanded with sandpaper because some parts of the box were very rough.


Here, you can see it before sanding:


And after sanding:


Then I put a thin layer of pink acrylic paint. I used the Marabu Wild Rose colour. 


Meanwhile I asked Eszter what pattern she preferred from my paper napkin collection and she chose the little cupcakes. I tried to persuade her of choosing the owls instead but I think she had enough of my owls :-)


I cut out the cake shapes with scissors and I glued them with decoupage glue on the wooden surface.


I made the number by myself with using a plain brown IKEA paper napkin and a Sizzix die (Wanted by Tim Holtz).


Then I sanded the edges and other parts to give a shabby look but just slightly because Eszter looked very nasty at me :-)


You can see the drawer number 1 before sanding, and the drawer number 3 after sanding:


In the end I put a neither too thick and nor too thin layer of Ranger Distress Paint (Clear Rock Candy).


You can see nice tiny crackles on the wood here:


and here:


I named the box:  NUMBERS OF CUPCAKE


Monday, 19 January 2015

Pink polka dot birthday cake

Since the colour of Eszter's birthday decoration was pink polka dot I wanted to make the cake the same or at least similar.

For this I used light pink fondant and dark pink Smarties. To the side of the cake I had to attach the candies with a tiny amount of honey.


And here is my big girl with her friends and with her cake :-)


Monday, 10 November 2014

Gluten and sugar free cake pop, or paleo cake pop


I'm trying to make a good paleo cake pop recipe because the cake pop is very popular among children and because I hope that one day our daughter will follow the paleo diet. But the thing is for the moment - if Eszter finds out that a cake is paleo she doesn't even taste it.

And unfortunately she figures it out very soon because if daddy is eating of it then she knows that it's hundred percent paleo.

Never mind! I'll keep trying! 

Well, I have made 80 balls to make cake pops for my husband's name day. And while I was creating the cake I took several notes on post-its. So this is my recipe... It works... But if you would like you can use it as a basic and you can change some ingredients. This recipe is suitable for the paleo diet but also good for those who have diabetes or those who are on gluten free diet.


Ingredients:

200 grams almond flour
150 grams oat flake flour (if you don't have put the oat flakes to coffee grinder)
20 grams 100 % cacao powder 
100 grams erythritol (this a natural sweetener with 0% calorie)
6 eggs
50 grams sultanas
100 grams cocoa butter
2 teaspoons bicarbonate of soda
300 grams paleo jam (without sugar)
a few drops of almond flavours


If you don't have oat flake flour, just put the oat flakes into a coffee grinder. 

I also put the erythritol to the coffee grinder to have powdery erythritol.

My jam was home made, my sister made this to me during the summer with erythritol. But you can find 100% fruit jam without any added sugar.

I mixed the sultanas, the jam and the eggs with a blender then I added the melted cocoa butter. And I put all of these to the bowl where I had already mixed the almond flour, the oat flour, the cocoa powder, the bicarbonate and erythritol powder. Then I added some water.

I stirred it thoroughly and after with a teaspoon I filled the  bottom of the cake pop mould. 


I baked it about 20 minutes at 170-180 degrees. 

I waited until the cake cooled down completely. 

I made only 4 real cake pops because I had no more patience and time to make more. So for this 4, first I dipped the balls into the paleo jam and after the melted chocolate. 

It was delicious with and without the coating :-) And it was all gone in two days!