Showing posts with label thank you. Show all posts

Saturday, 27 June 2026

Thank you card with Minnie Mouse

Yesterday we had our class reunion. We graduated 35 years ago! So I made a thank-you tag for my former classmate who organized the reunion. For this, I chose the Spellbinders Classic Mouse die set and I created a Minnie Mouse.


Tag front:

I cut out a tag with Sizzix Bigz die, Tag&Bookplates (656938) but it was too big, so I cut the bottom a little shorter and I also cut the top a little pointier. I coloured the surface with turquoise paint. When it was dry I splattered with watered brown paint and inked the edges with Vintage Photo Archival ink. 


Tag back:

The back of the tag was another piece of paper that I coloured fuchsia with acrylic paint. I spritzed it with watered brown paint and inked the edges with Vintage Photo Archival ink. The numbers are from the Sizzix Thinlits die, Vault Hippity Hop (666562). I cut the letters from gold painted paper. For the stars I used Sizzix Thinlits die, Snowglobe (661603). And I cut the stars out from the same gold paper that I used for the numbers.


Minnie:

I cut the basic pieces from black paper. Her face was cut out from Neenah Solar White paper and coloured with Copic Sketch markers. Behind the head I glued the tongue piece which I coloured with pink Copic Sketch marker (RV32). The skirt was cut out from fuchsia coloured paper. Then I added tiny dots with a white gel pen. 


The text was stamped with Black Soot Archival ink and I used an MFT stamp set: Bitty Thanks&Gratitude.


Friday, 28 March 2025

Thank you card with spring colours

I know it's been a long time since I last posted something here. I really haven't had time to create lately, teaching has been taking up so much of my time. But here I am with this spring thank you card.


This card is started with the background, but I didn't do it now, I have found it by accident. The yellow stripes were darker so I muted the colour with diluted white paint. Then I spritzed with brown paint and inked the edges with Vintage Photo Archival ink.


For the flowers and leaves I used two Sizzix die sets: Brushstroke Flowers 2 (665210) and Bloom Colorize (665208). I painted them with acrylic paints. The green was a mixture but the pink was Spun Sugar and maybe I added some white. 

The text was cut out from dark brown paper with Sizzix Handwritten Celebrate Thinlits die (660215).


Tuesday, 29 October 2024

Thank you card with Floristry stamp set

Hello everyone, here is my second card that I made with the Floristry stamp set (CMS485) by Tim Holtz. 


As with the previous card, I stamped the flowers on Neenah Solar White paper and coloured it with Copic Sketch markers.


Then I went over the whole panel with a light brown marker. After I added Antique Linen and Brushed Corduroy inks to the edges. Then I tapped diluted white paint to the whole panel. I didn't only put white paint on the edges, like the previous card, but also on the flower bouquet. In the end, I splattered with white paint.


The text is from the Saying Stuff (THJ009) stamp set and heat embossed with Princess Gold embossing powder.


Thursday, 14 March 2024

Thank you card with bold letters

I'm here again with a thank you card. I think after the birthday cards and the name-day cards (because I'm Hungarian)  this is the most needed card. I didn't want to make it too complicated and I wanted the text to be highlighted on the card. So I made a design like this.


And here is the tutorial.

I painted blue a 300gsm paper with Uncharted Mariner Distress paint (like here). When it was dry I stamped the rose background stamp on the surface using embossing ink. I heat embossed with Sky Blue embossing powder. I cut off the excess parts where there were no flowers. Then I took another rectangle panel and I drew the line of the main panel and heat embossed around the lines with Sky Blue embossing powder. 


I cut out the letters from cardboard paper and painted gold with DecoArt Americana paint. But then I wanted this strong gold to be somewhere else on my card, so I made another layer, creating a gold frame of my card.


What I used:

Sizzix Bigz XL Alphabet die, Deco (661815)

Stampers Anonymous, Vines and Roses (CMS298)

Ranger Distress paint, Uncharted Mariner 

Ranger embossing powder, Sky Blue

DecoArt Americana paint, Emperor's Gold 


Tuesday, 13 June 2023

Thank you card with yellow Blossom by Tim Holtz

For this card, I used one of my earlier cards as an inspiration. I used the same stamp sets, the same die set but I changed the colours and of course I didn't always stamped the same place as before.


So if you click on my previous card, you will find the list of all the stamp sets and die set I used here. 

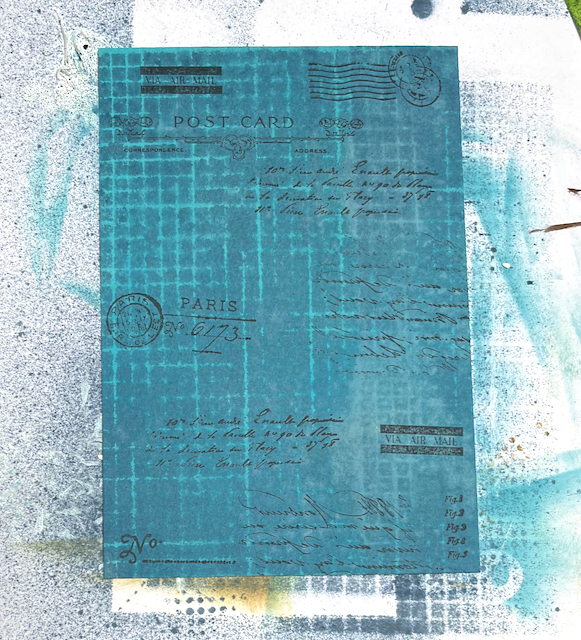
In this picture you see all the inks I used for the background. Salvaged Patina Oxide was the base, then I used Broken China ink for the stencilling. I put Evergreen Bough to the edges, then Ground Espresso Archival ink to the very edges. For the stamping I used Black Soot Archival ink.


For the flower I used Squeezed Lemonade and Mustard Seed. For the leaves I used Rustic Wilderness and Peeled Paint, plus Crushed Olive to the top layer. Then I splattered everything with white paint.


Thursday, 11 May 2023

Thank you card with Blossom by Tim Holtz

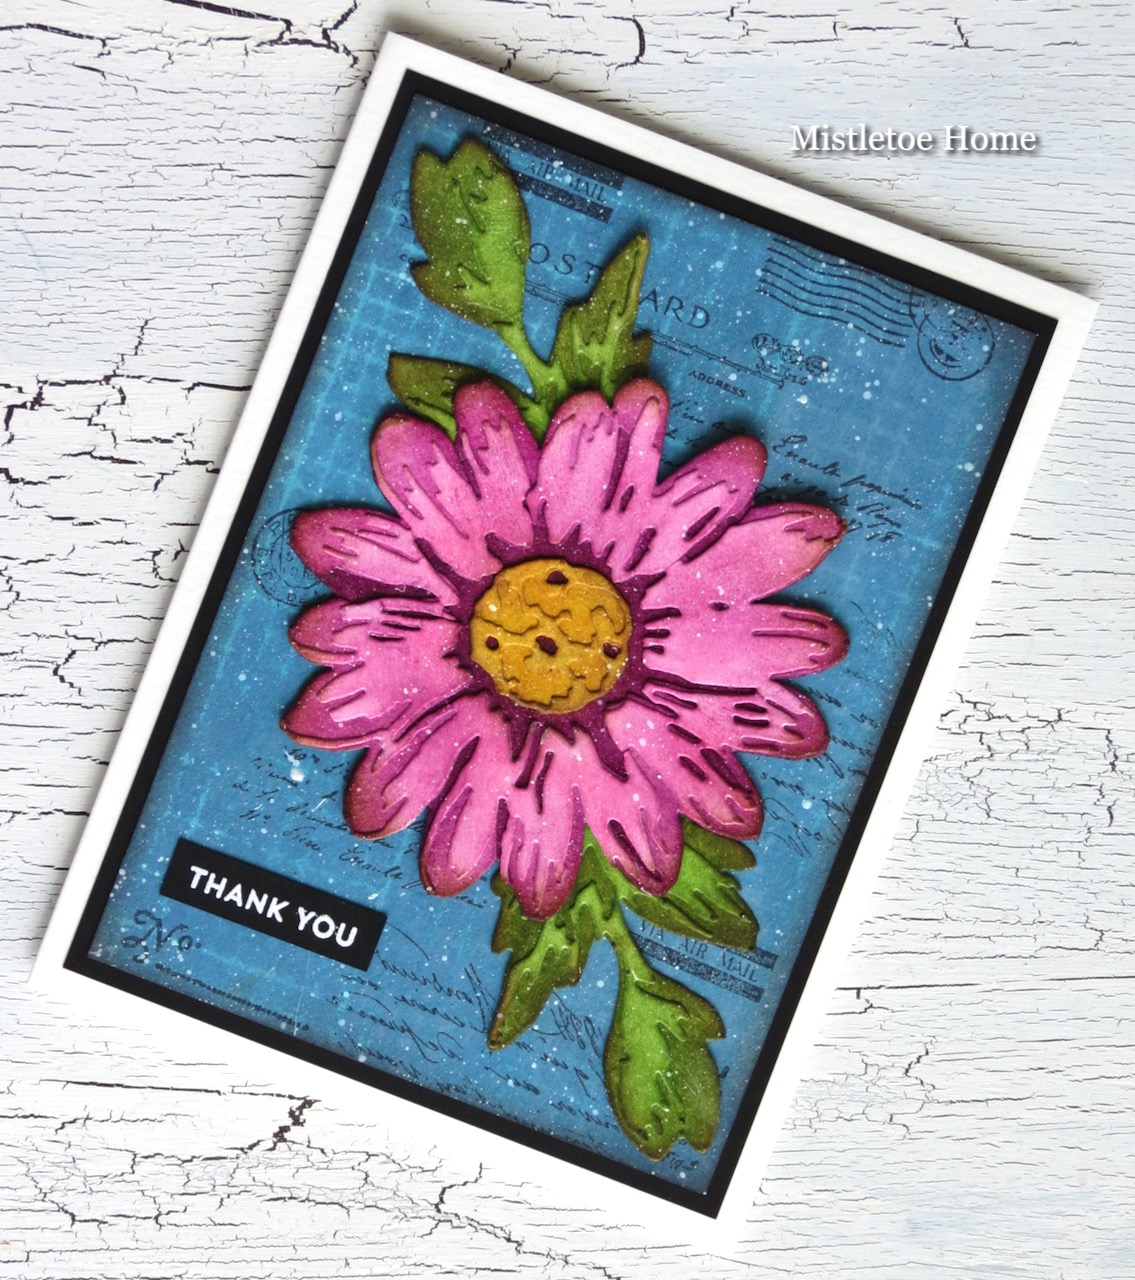
Let me show my latest make, a thank you card that I made with Tim Holtz's new die set, the Blossom.


Last month, I made another thank you card using the same die, but that flower was yellow and I placed it on a striped background. You can find it here

And here is the tutorial.

After I blended Broken China Distress Oxide ink to the surface, I placed the Linen stencil on the paper and spritzed with Stormy Sky Spray Stain. After a few seconds, I used a paper towel to soak up the excess.


When it was completely dry, I started to stamp on the background with different stamps. For this I used the Black Soot Archival ink.


I inked the edges with Ground Espresso ink and splattered with white paint.


The flower was cut out from 300 gsm watercolour paper and I coloured with Kitsch Flamingo and Seedless Preserves inks. I mixed these colours a little. For the centre pieces, I used Mustard Seed, Fossilised Amber and Walnut Stain.


What I used:

Sizzix Thinlits die, Blossom (666283)

Stampers Anonymous, Toadstool (CMS377)

Stampers Anonymous, Shabby French (CMS087)

Stampers Anonymous, Paris To London (CMS160)

Stampers Anonymous, Odds&Ends (CMS100)

Stampers Anonymous, Postcards (CMS099)

Stampers Anonymous, Reflections (CMS111)

Stampers Anonymous, Linen stencil (THS061)

Ranger Distress inks and Oxide inks, Spray Stains

Ranger white embossing powder

etc.


Monday, 10 April 2023

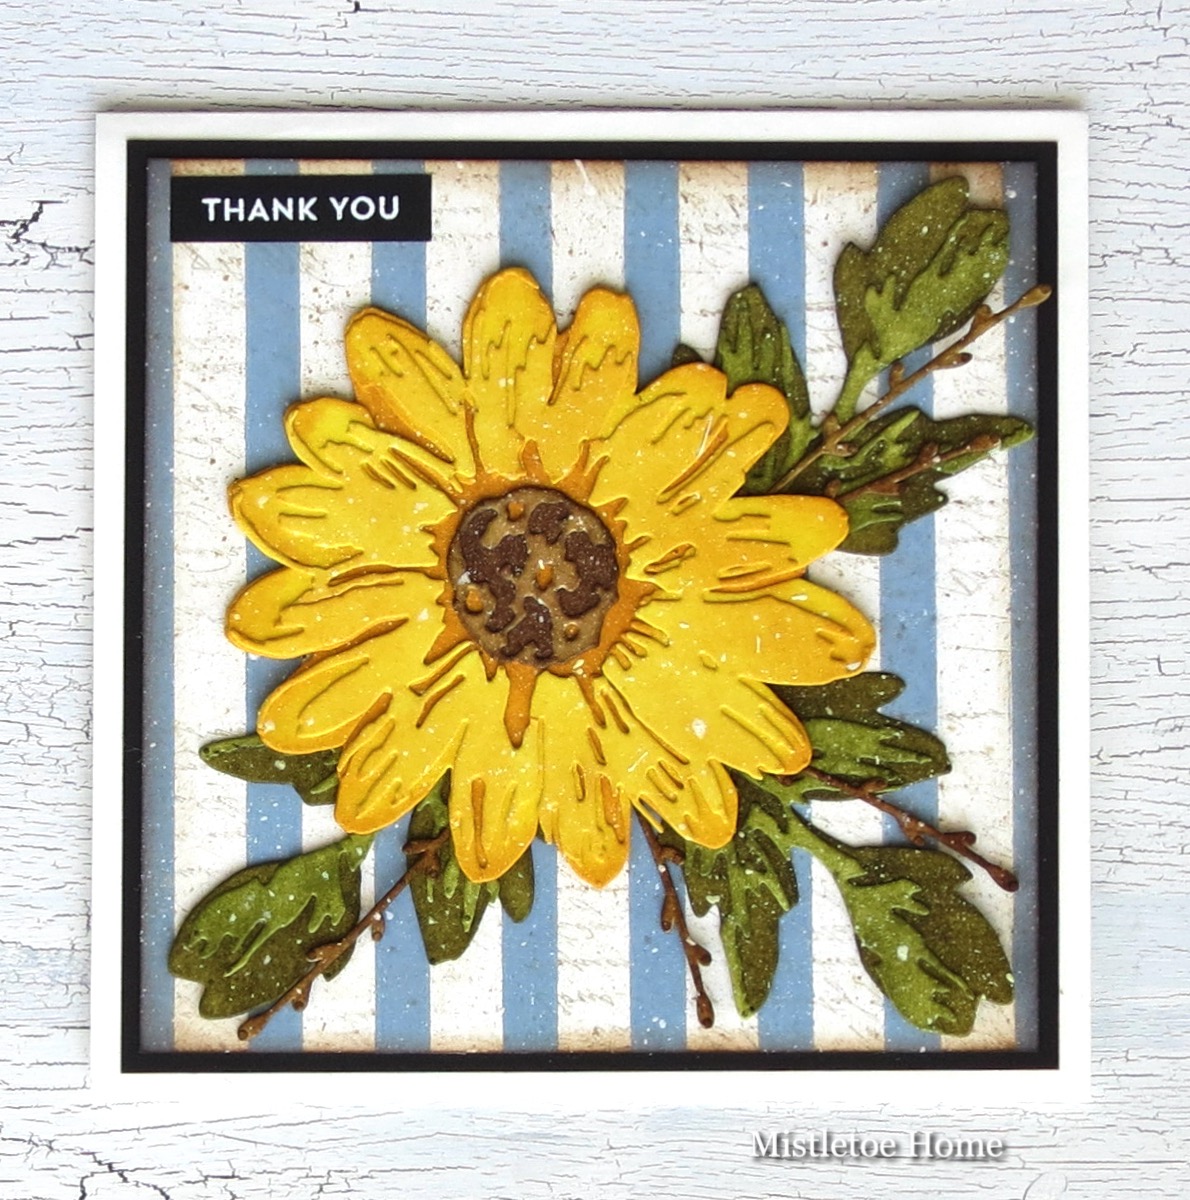
Thank you card with Blossom by Tim Holtz

I hope you all had a wonderful Easter! But what I would like to show you today is not Easter at all. You could call it spring, but it's more like a thank you card with flower.


My sister needs thank you card so I decided to make one, and my new Blossom die set was a perfect choice. 

My background is very similar to one of my previous cards where I wrote a tutorial. So please hop there if you would like to know the process. 

The big flower was cut out from white watercolour paper then I coloured the petals with Squeezed Lemonade, Mustard Seed and Fossilized Amber.

For the leaves, I used Forest Moss and Peeled Paint. 

The branches are from the Wildflower Stems 1 set and I think I coloured them with Walnut Stain. 

I spattered the whole card with diluted white paint.

The text is from an MFT stamp set, Bitty Thanks&Gratitude, and heat embossed with white embossing powder on black paper.


Wednesday, 5 April 2023

Thank you card with bird

Hello everyone, here is my second inspirational project that I made for the April challenge of the Country View Challenges blog. The theme is Things with wings.

My first project was also a thank you card but with a butterfly. This time I say thank you with a yellow bird.


And I have to admit that I've already used this design in the past, I made a birthday card where I used the same background and arranged the elements similarly. Here you can see that card.

And if you visited my earlier post, you could see that the colours are not identical either.

For the background, I used Forget-Me-Not embossing powder from Ranger. I slightly splattered the background with diluted Antique Linen ink.

The bird was coloured with Squeezed Lemonade, Mustard Seed and Walnut Stain.

The text is part of the Crazy Talk stamp set.

In my previous blog post, you will find all the other creative supplies. 


So if you have a project with a bird, a butterfly, a dragonfly, an angel,  or anything else with wings, please don't hesitate t join our April challenge where a randomly selected winner can have a £20 voucher in the Country View Craft Shop! Good luck!

With my card, I would like to join the Simon Says Stamp Monday Challenge: Add Texture


Thursday, 2 March 2023

Thank you card with huge butterfly

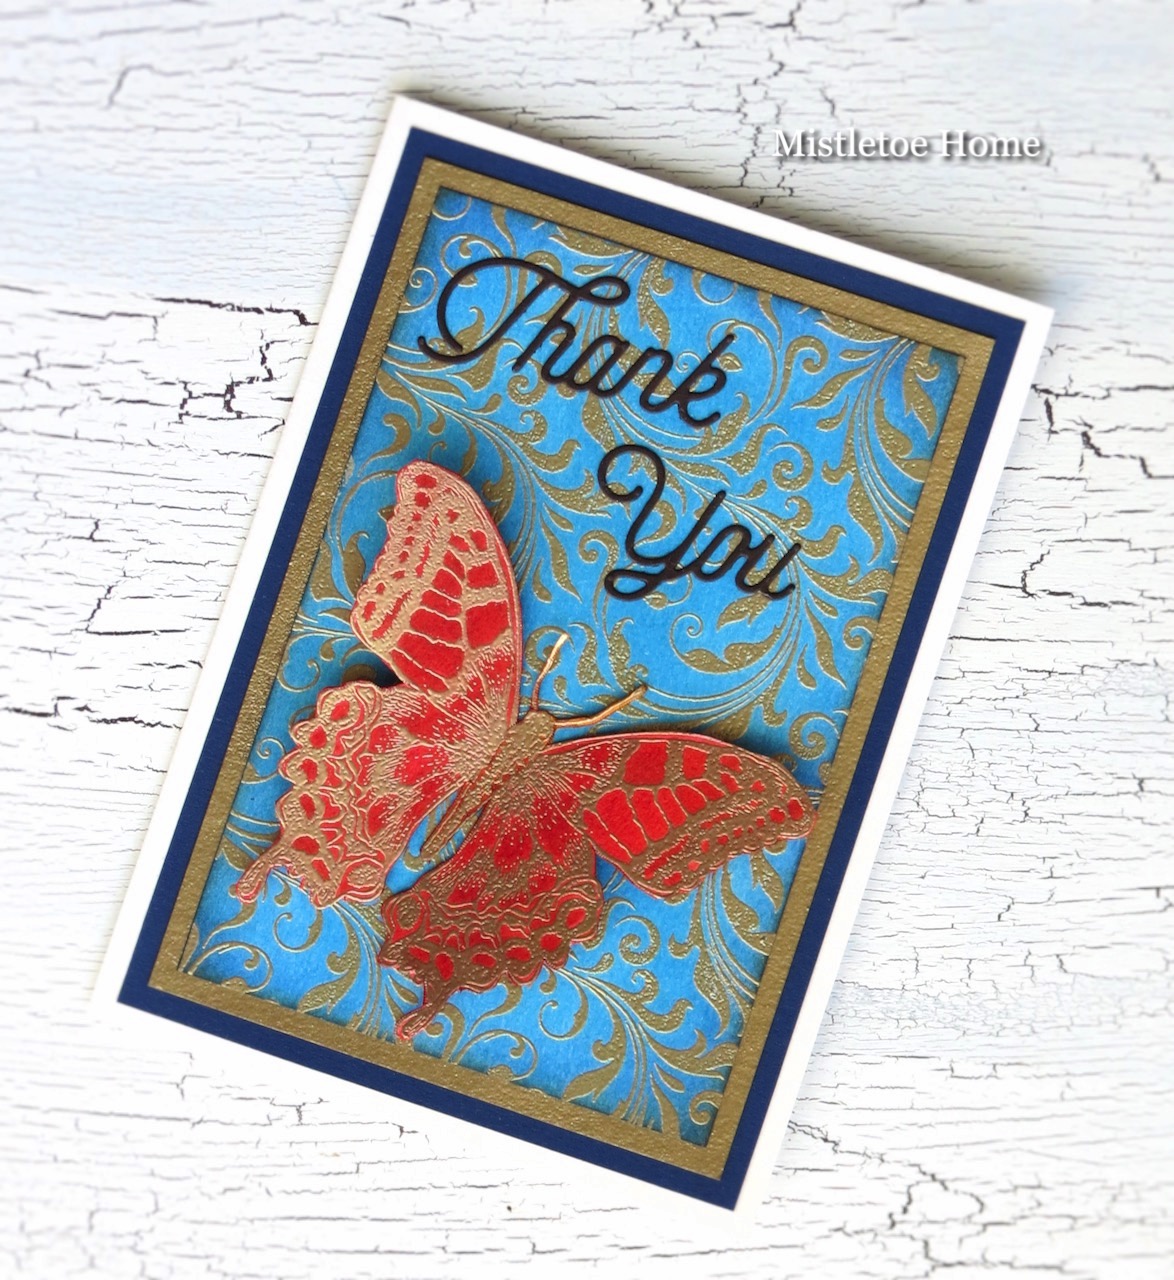
Let me show my latest make, a thank you card with my favourite butterfly stamp. 


For this design I just had to copy one of my previous card with a little twist. 

Here I used Princess Gold embossing powder and the Flourish stamp to make the background. Then I blended Salty Ocean and Prize Ribbon to the surface.


Then I took a brown paper from the leftover papers and with a pencil I drew the outline of the Flourish card. I went over the lines with an embossing pen, and heat embossed with the same gold embossing powder.


I glued the two sheets together.


Then I stamped the butterfly on 300gsm watercolour paper and heat embossed with the same gold embossing powder I used before. I cut out the butterfly and I coloured it with a mixture of red Distress colours.


What I used:

Stampers Anonymous, Lattice&Flourish (CMS257)

Stampers Anonymous, Perspective (CMS213)

MFT Stamps, Twice The Thanks Die-Namics

Ranger embossing powder (Princess Gold)

Ranger Distress in pads

etc.


With my card, I would like to join the Simon Says Stamp Monday Challenge: Things With Wings


Tuesday, 13 September 2022

Thank you card with Pumpkin Duo by Tim Holtz

Hello everyone, I'm here to show my latest make with the Sizzix Pumpkin Duo Colorize die set that I recently received. 


And if you like my thank you card and need a tutorial, here it is.

First I stamped the Flourish background on a watercolour paper with embossing ink, then I heat embossed with Ranger Sage embossing powder. I cut off the excess from the paper, then I blended Speckled Egg Distress ink onto the surface. I inked the edges with Vintage Photo ink, later I added Walnut Stain too.


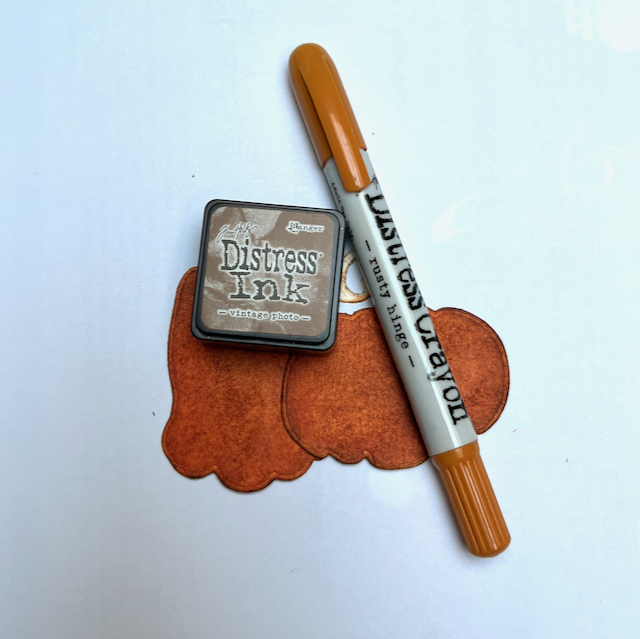
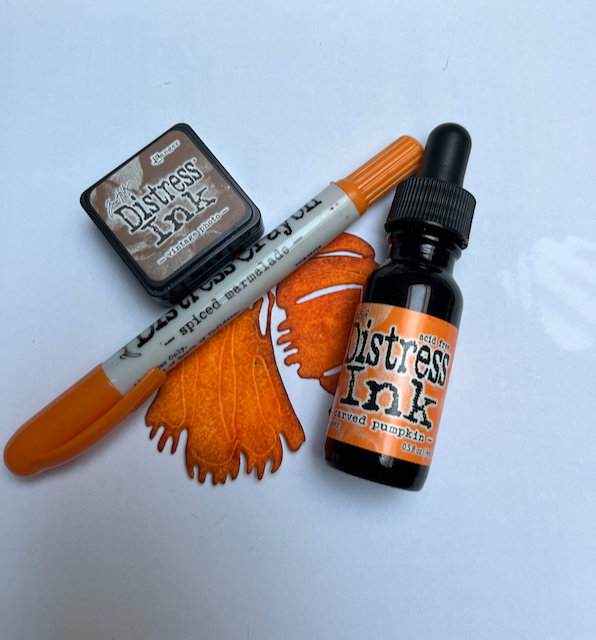
For the pumpkins I used Distress crayons, inks and markers to make darker and lighter layers. Here are two photos of the pumpkin colouring:


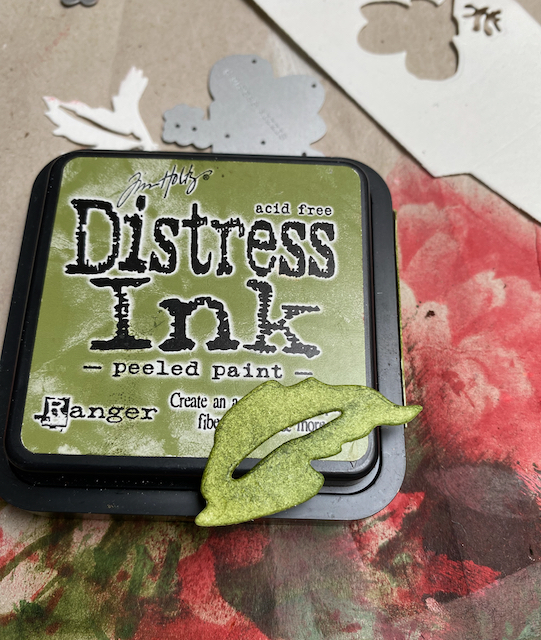
I cut out some leaves too and coloured with Distress inks.


The wooden strip was in my stash, I cut out for something else then I left it in my box. But I'm sure, I used the Lamber embossing folder, the cut the panel into equal strips with Tim's guillotine. 


What I used: 

Sizzix Thinlits die, Pumpkin Duo Colorize (665999)

Sizzix Thinlits die, Handwritten Celebrate (660215)

Sizzix Thinlits die, Fall Foliage (660955)

Sizzix Texture Fades embossing folder, Lumber (662718)

Stampers Anonymous, Lattice and Flourish (CMS257)

Ranger Distress ink pads, markers, crayons, re-inkers ...


With my card, I would like to join the Simon Says Stamp Monday Challenge: Die Cuts


Wednesday, 15 June 2022

Thank you card with Perspective butterfly by Tim Holtz

A few days ago one of my friends bought a bunch of thank you card from me. Here I would like to thank you again, my friend! 

And now that the number of my thank you cards decreased, I decided to make new ones.

Here is the first one with one of my favourite backgrounds.


I heat embossed the background with Ranger Princess Gold embossing powder. Then I smeared the watercolour paper with diluted Antique Linen Distress ink.


I inked the edges with Ranger Brushed Corduroy Distress ink.

I stamped the butterfly onto a watercolour paper and heat embossed with the same gold embossing powder. I coloured the inner parts with Candied Apple using a re-inker and a brush. I fussy cut the image.


What I used:

Stampers Anonymous, Perspective (CMS213)

Stampers Anonymous, Vines&Roses (CMS298)

My Favorite Things, Bitty Thanks&Gratitude

Ranger Distress Inks (Antique Linen, Brushed Corduroy, Candied Apple)

Ranger embossing powder (Princess Gold)

Ranger Distress Archival ink (Ground Espresso)


With this card, I would like to join the Simon Says Stamp Monday Challenge: Frame it


Thursday, 19 May 2022

Thank you card with red brushstroke flowers

So if you like the red then, it's your type of card. I added my flowers a really bold red colour to pop out from the background. 


For this card I got the background from one of my earlier projects, a tag. But there I didn't post any pictures about the creation and I didn't explain how I made it. 

So I took a 300 gsm paper and covered with an even layer of gesso.


When it was dry, I fixed the stencil on the paper with washi tape. 


With a piece of sponge, I dabbed the grey acrylic paint on the paper through the stencil. When it was dry, I spattered with white acrylic paint.


I inked the edges with Hickory Smoke Archival ink, then I placed and glued on a red panel.

For the flowers I used 300 gsm watercolour paper and blended Distress inks onto the surface. First Candied Apple, then Barn Door. The top layers were coloured with Abandoned Coral marker and with Rusty Hinge the middle part. All the edges of all pieces were inked with Gathered Twigs.


The leaves were coloured with Peeled Paint first, then with Rustic Wilderness.


Here I inked the edges with Gathered Twigs.


What I used:

Sizzix Thinlits die, Handwritten Celebrate (660215)

Sizzix Thinlits die, Brushstroke Flowers 2 (665210)

Stampers Anonymous, Shifter Stripes (THS108)

Ranger Distress inks, markers


With my card, I would like to join the Simon Says Stamp Monday Challenge: Add texture